
Setting up a Superbox for the first time does not have to be complicated.
With a TV, HDMI cable, power adapter, and a reliable internet connection, most users can complete the basic setup in just a few simple steps.
This guide walks you through the Superbox setup process from connecting the hardware to configuring your network and display.
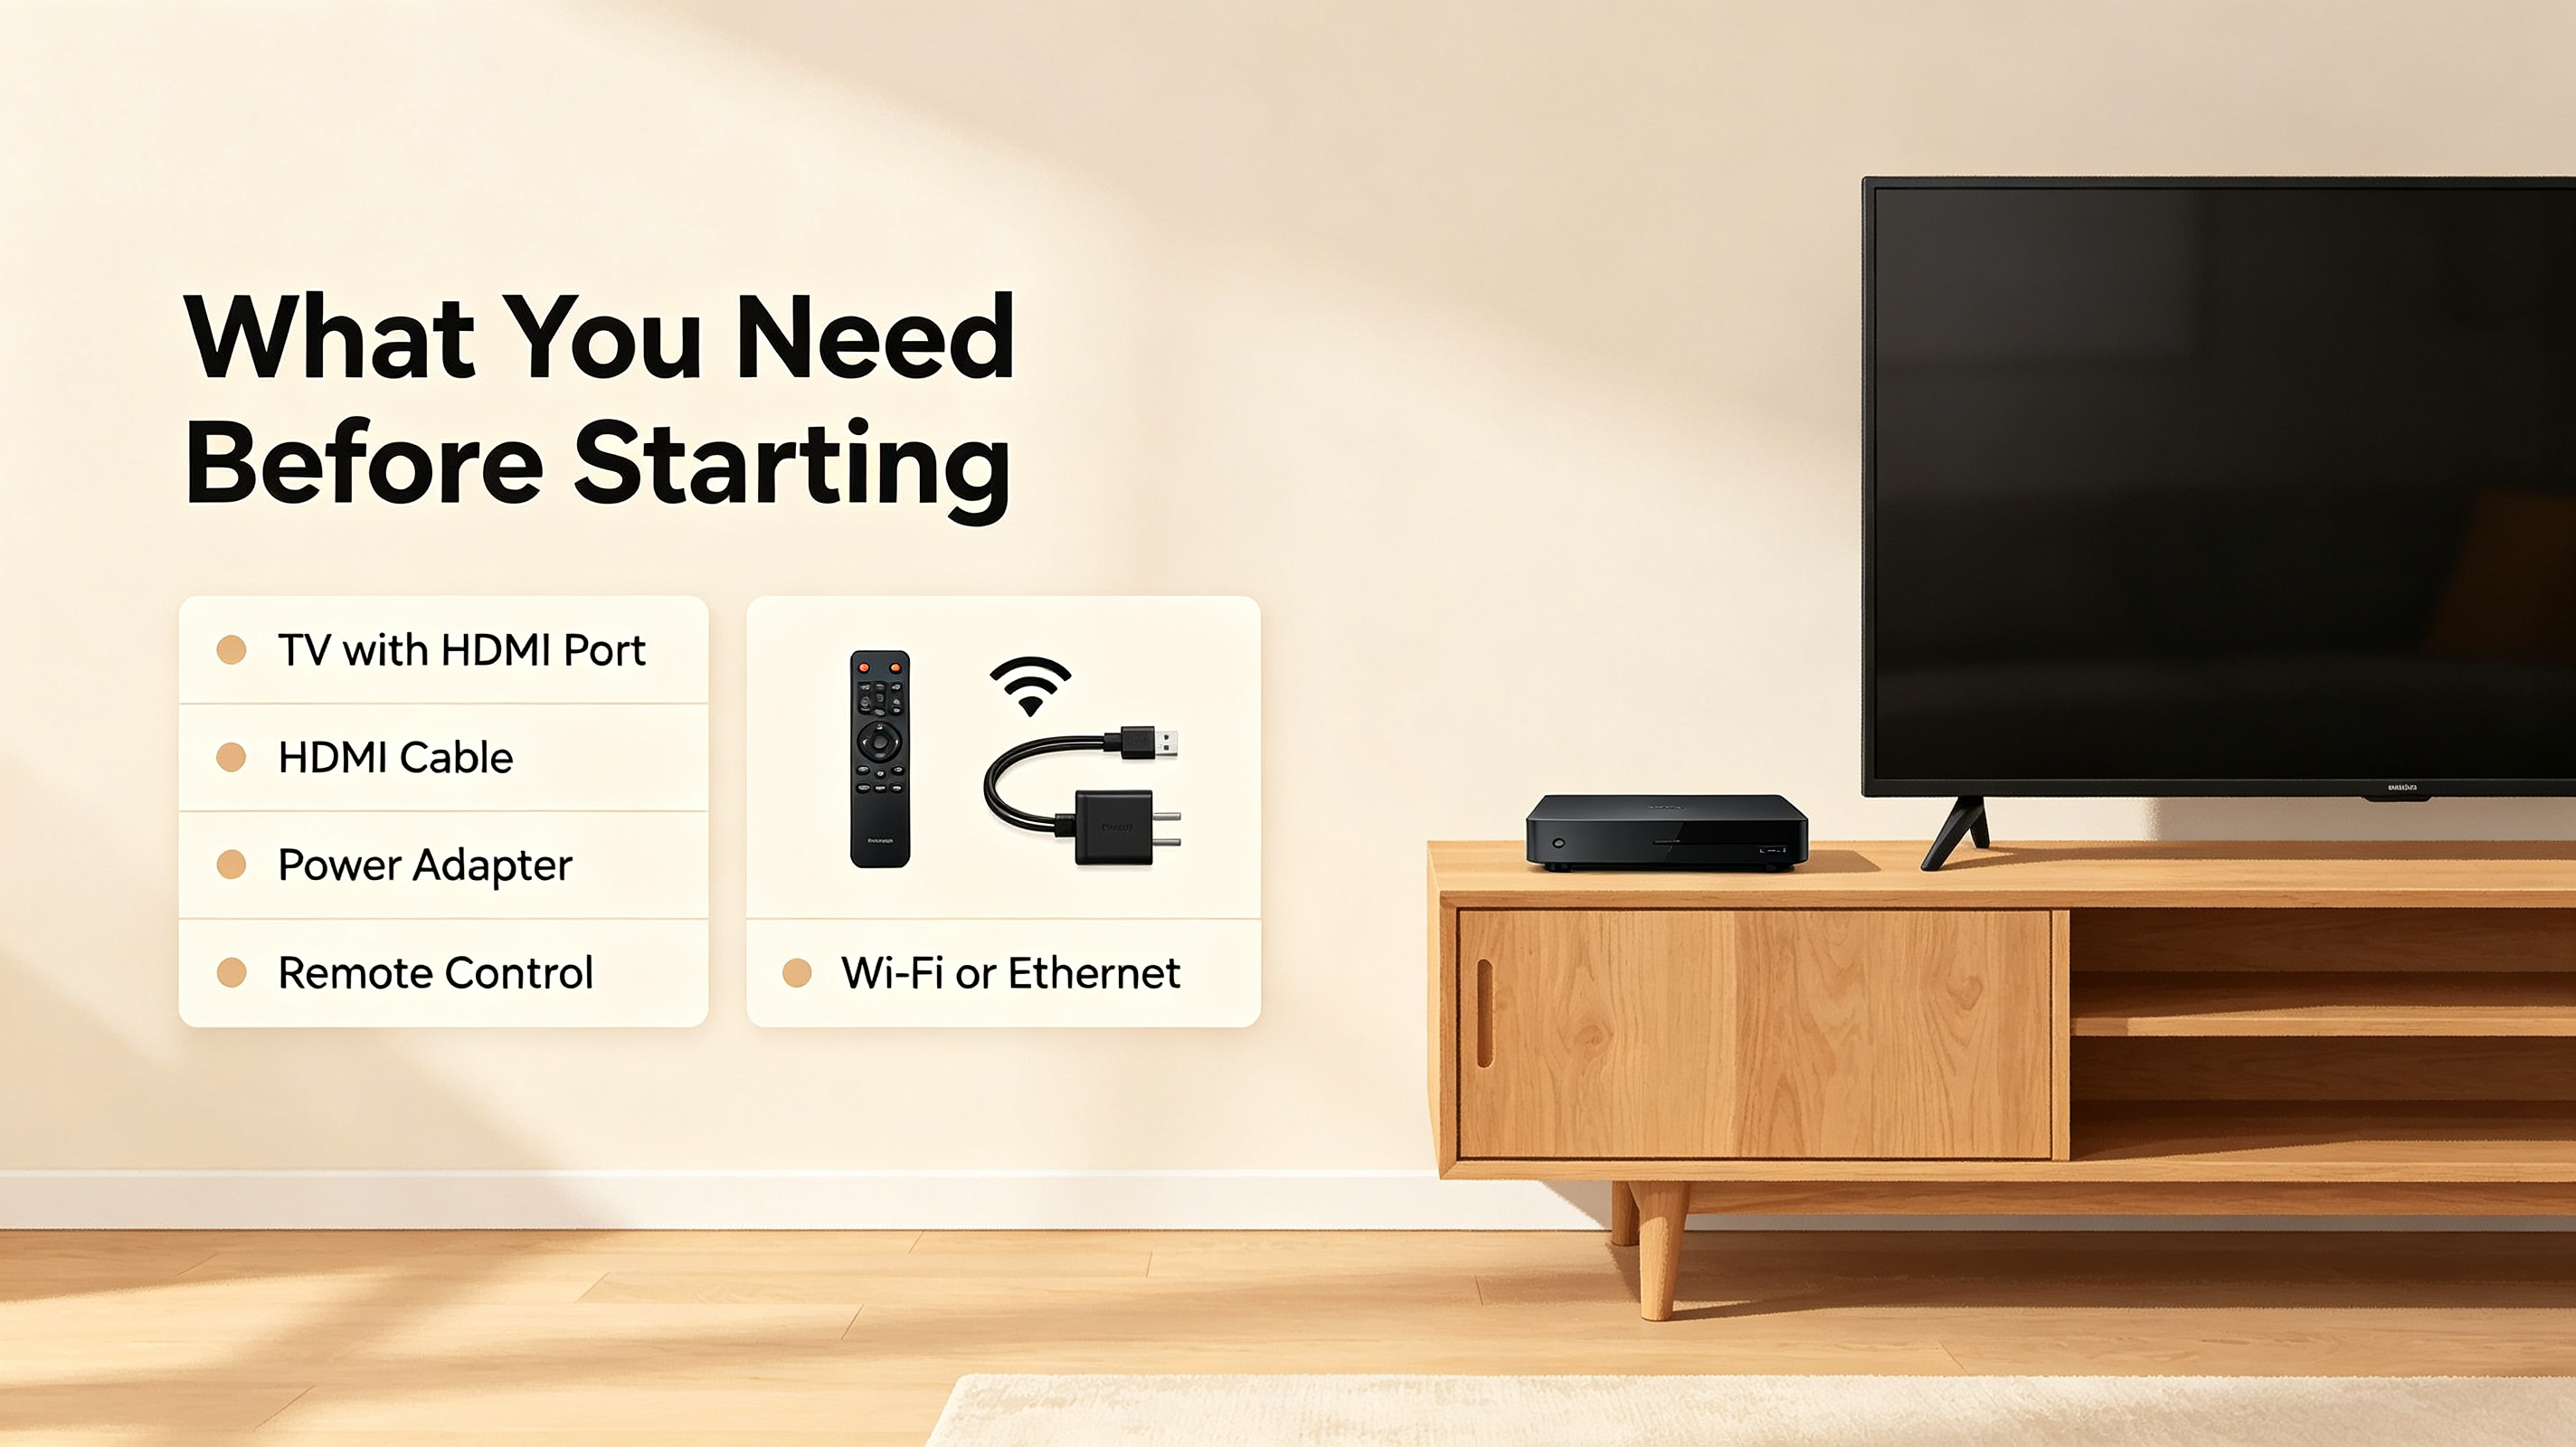
What You Need Before Starting
Before you begin, prepare:
- Superbox device
- Remote control
- HDMI cable
- Power adapter
- Television with an available HDMI port
- Wi-Fi network or Ethernet connection
Make sure your TV and Superbox are placed somewhere with adequate ventilation..png?w=2848&h=1600)
Step 1: Connect Superbox to Your TV
Connect one end of the HDMI cable to the HDMI port on the Superbox.
Connect the other end to an available HDMI port on your television.
Remember which HDMI input you are using.
For example, if you connect the device to HDMI 1, you will need to select HDMI 1 on your TV.
Step 2: Connect the Power
Connect the power adapter to your Superbox.
Then plug the adapter into a suitable power outlet.
Turn on your television and the Superbox.
Step 3: Select the HDMI Source
Using your television remote, select the HDMI input connected to the Superbox.
After a few seconds, the Superbox startup screen should appear.
If you do not see anything, check that:
- The HDMI cable is firmly connected.
- The correct HDMI input is selected.
- The power adapter is connected correctly.
- The television is switched to the correct source.
.png?w=2848&h=1600)
Step 4: Connect Superbox to the Internet
A stable network connection is important for streaming and online applications.
Wi-Fi Connection
Open the network settings and select your Wi-Fi network.
Enter your Wi-Fi password and wait for the device to establish the connection.
Ethernet Connection
If your model supports Ethernet, connect a network cable between the Superbox and your router.
A wired connection can be useful when you want a direct network connection.
Step 5: Configure Display Settings
Follow the on-screen setup instructions.
Depending on your model, you may be able to configure:
- Language
- Screen resolution
- Display size
- Time zone
- Network
- Remote settings
For the best picture, choose a display setting that is supported by both your television and the Superbox.
Step 6: Pair the Remote
If your Superbox remote uses Bluetooth, follow the on-screen instructions to pair it with the device.
Keep the remote reasonably close to the Superbox during the pairing process.
Once connected, test the navigation buttons and volume controls.
Step 7: Check for Updates
After connecting to the internet, check whether system or application updates are available.
Keeping the software current can help improve stability and compatibility.
Step 8: Test Your Connection
Open a supported application and test playback.
If everything loads normally and navigation feels responsive, your basic setup is complete..png?w=2848&h=1600)
Superbox Setup Troubleshooting
No Picture on the TV
Check the HDMI cable and make sure your TV is using the correct HDMI source.
Wi-Fi Will Not Connect
Move the Superbox closer to the router or restart your router.
If possible, try another network or use Ethernet.
Remote Is Not Responding
Replace the batteries and try pairing the remote again.
Streaming Is Buffering
First check your internet connection.
Restart your router and Superbox, then test again.
If the problem continues, try a wired Ethernet connection if available.
Final Checklist
Before you start using your Superbox, confirm:
- HDMI connection is secure
- Power adapter is connected
- Correct TV input is selected
- Remote is paired
- Wi-Fi or Ethernet is connected
- Display settings are correct
- Available updates have been checked
Once these steps are complete, your Superbox should be ready for everyday use.
Final Thoughts
The Superbox setup process is designed to be simple enough for first-time users.
The most important factors are a proper HDMI connection, stable power, reliable internet, and correct display configuration.
If you experience problems later, start with the basics: check your cables, restart the device and router, and verify your network connection before changing advanced settings.